|
Hobby people (other people's projects)So you're thinking about creating some fake rock for your reptile habitat? But you need some more inspiration... Here are some pictures from those I like to call- hobby people. The pictures below contain projects that may or may not have been inspired by watching the videos on this website.
When you complete your fake rock project please post pictures to the Lizard-landscapes Facebook page! -And don't forget to Like us! Be sure to check out the second page of
Other Peeps Projects
Most of these projects were built to fill bearded dragon cages. Providing something for your pet lizard to climb on and hide under can be very beneficial to them. Why not try to simulate their wild reptile habitat with something that will probably turn into a conversation piece in your home as well. As with all of the projects on this website, if you build these, it is at your own risk -specifically at your pet's own risk. Lizard-landscapes.com is not responsible for accident or injury resulting from the use of the techniques on this website. 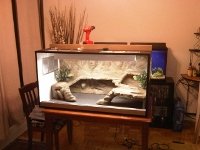
This could be considered one of the weirdest types of hobbies out there. it can also be quite fun and easier than you might think. Hobby people usually fall into the category of model plane or car construction.
Check out the
beginner video
to get started.
Although the information on this website is geared towards creating a safe landscape for a lizard or tarantula etc. I've received several e-mails about people using these techniques to create projects unrelated to pets.
These hobby people might just love building miniatures. There are also a number of students that have used these techniques to create school projects, such as
How to build a Castle.
Whether you're trying to fill your bearded dragon cages (or other type of reptile habitat) or create Stonehenge for yourself or for a school project -get started with the instructions on this website.
Bearded dragon cages will never look the same as your reptile habitat is spruced up beyond your friend's and neighbor's (and pet lizard's) imagination! Check out this project! This may very well be the most creative fake rock sculpture my website took part in inspiring. It's a fake rock volcano, and the guy who created it has provided a brief description to help inspire you. 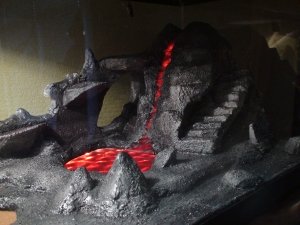
Chase writes: For the body of the volcano I used florist foam. It's the big blocks of green foam, you can get an 8" cube at wal-mart. So I just used a large kitchen knife to slice and hack away until I got the volcano form I desired, including the internal hide away and staircases. I put a hole going from the top of the volcano all the way through to the bottom, an LED will light up through the center to create a glow in the cave and the top of the volcano. Next I made the base and back wall out of the foam sheets you guys use, I added features to this using foam I hacked away from the florist block. The base is 2 layers, the first layer has all the cavities to accommodate lighting and wiring, the second layer covers all of it and gives a nice step down visual. The grouting stages went pretty much the same as your instructional vids. At the last thick layer I added some course sand to give an overall texture.
The lava lake is a sample size (8x8) of a product we offer here
at 3-form. Its called Lava believe it or not. I attached a row of LEDs
to each side to light it. The LEDs came from IKEA, it has wiring for 4
strips. I had to cut a few of the strips to fit them (lava flow and
volcano center lighting). If you end up doing this there are a couple of
points that connect the circuit, cut after these or the LEDs wont light.
Once the lava flow was in place I carefully laid thick grout along the edges. This gives great visuals, with texture and color gradients. Just like real lava! I laid the same thick grout along the edges of the color film at the top of the volcano and in the interior. I used an airbrush to color the feature and get the gradients I wanted on the lava flow. Once I was done there I sealed it with Mod Podge. The last layer I put some dark red sand for traction. I covered the bottom and all edges that abut to glass with black felt. This will hopefully prevent the grout from breaking apart when take it in and out for cleaning / improvements.
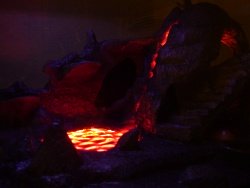
A couple of things I will do differently in the future 1-Wireing considerations! I have a big bundle of wireing running up the corner of the tank, still trying to decide how best to disguise / hide those. 2-Sizing, its fit is super tight inside the tank, hope it doesn't break. I know, I know, you guys warned us about that in the vids. Sorry. There you go. I would like to thank you for all the instructions and insperation! Hope I've been able to give a little back! Here are some more projects. They aren't just lizard landscapes, as you can see they can be tarantula landscapes. 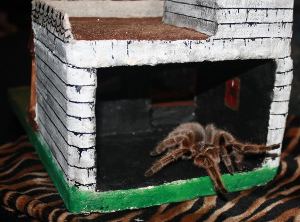
Be sure and send some pics of your tarantula landscapes and I'll feature them on this webpage. What other critters might enjoy these fake -but sometimes realistic looking landscapes? How about a Vietnamese centipede, or possibly one of those pet giant beetles. Be sure you choose to create a sculpture that is appropriate for your pet's climbing abilities.
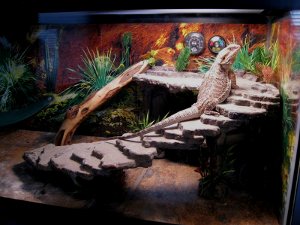
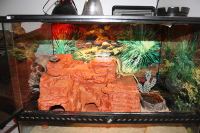
The pictures listed below take a nice unique original spin on some of the fake rock projects featured on this website. They took the basic ideas presented on this site and made them their own by creating a couple of nice habitats. One, meant for a bearded Dragon cage, the other meant for a schneider skink habitat.
-----------The benefit to creating your own lizard cage decorations (or furniture), as opposed to purchasing a rock structure from a pet store, is that you can customize them to the specific size of your lizard habitat and of course your pet lizard.
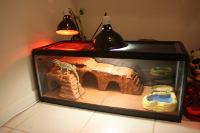
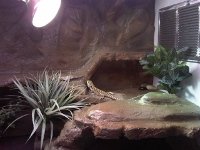
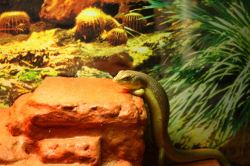
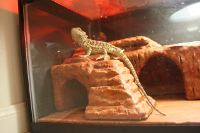
This bearded dragon (below) seems content with his new red rock hide. We, as a pet owners might be gone for eight hours or more at a time. Providing something interesting for a pet lizard to engage with while we're gone will hopefully entertain them as well as make them feel safer.
Check out the bearded Dragon cages below. There's some really good artistic ways of making your fake rock project unique. Get creative and have fun at providing something original in your reptile habitat. 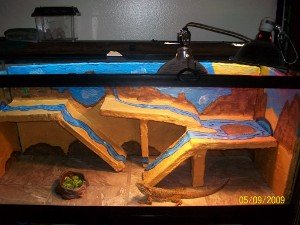
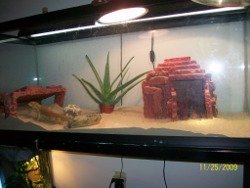
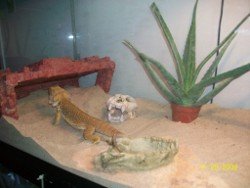
As with all of the projects on this website, if you build these, it is at your own risk -specifically at your pet's own risk. Lizard-landscapes.com is not responsible for accident or injury resulting from the use of the techniques on this website.
Kody and Ashley write: Building this wasn't easy. That being said I guess that I can also admit that it wasn't our first attempt. The first waterfall was much more visually appealing. It was built using your "lizard-landscapes" method of cutting, gluing and stacking rings of styrofoam together. Then I applied two coats of automotive grade clear acrylic urethane (car clear coat) and then aquarium silicone to the areas that would constantly be submersed. Please be very careful using chemicals such as these! It can be very dangerous if the proper precautions are not taken! 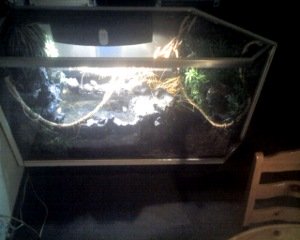
It leaked. It also splashed water all over the terarium making a mess of things. Whenever I took it out I found that it had seperated at one of the glue
joints. So... Round two.
On the second attempt I tried to keep it a little more simple. A friend of
mine that works at a hospital gave me a styrofoam cooler that was used to
transport medicine. Very heavy duty, about three and a half inches thick and
plenty big enough. Instead of a waterfall I decided to build a water tank with
a filtration system. It has been working fantastically.
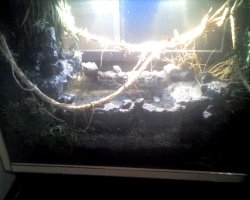
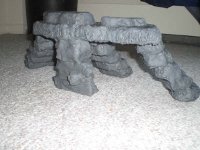
Below, is another gray rock themed project, they did a great job in taking some of the ideas on this website and making them their own.
Check out the leopard gecko cage below. This hobby enthusiast combined a back wall that has front protrusions creating a very interesting rock like look.
The leopard gecko certainly seems to be getting some good use -and hopefully having fun- climbing on his new lizard landscape. 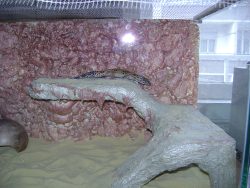
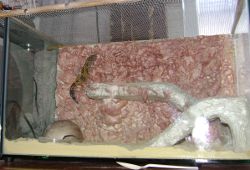
Next, we have another leopard gecko habitat. This hobbyist has provided a short description explaining some of the features of this leopard gecko landscape. 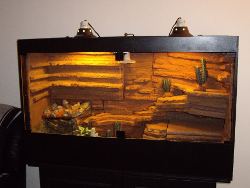
Michael writes:
I have a sump in the bottom of my stand with an aquarium filter to keep the water fresh in the enclosure. I used silicone to water proof the simple waterfall on the left side that I covered with course sand.
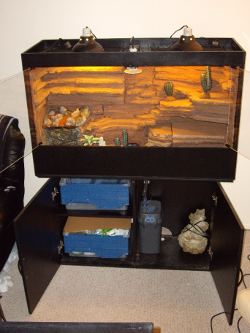
The hide on the right side is much bigger and has a paper towel in it for them to poop on; which hides their bathroom making the whole enclosure look nicer. Be sure to check out the second page of
Other Peeps Projects
|


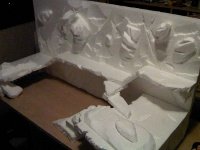
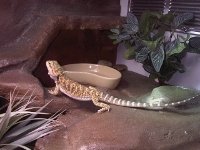 This unusual hobby seems closely related to model railroad landscaping. The only difference is -the instructions on this website include ways of making the final project non-toxic so a living creature can make it it's home.
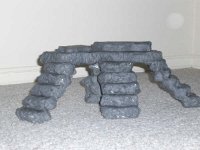 Hobby people take notice, and try getting into an unusual but interesting hobby -the world of fake rock creation!
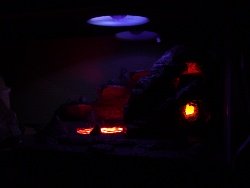 To make the lava flow I used a color film we use here at work to
color our products. I put a torch to it and formed it until it looked
good and fit just right over the gap I left for the LED lighting. BTW, I
put a grocery bag between the LEDs and the lava flow to diffuse the LED
lights a bit so you couldn't see each diode.
 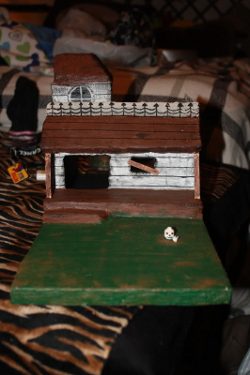 To create your own haunted house sculpture -check out the page on how to create a
 By providing a structure for your pet's reptile habitat, you are enabling them to get some exercise, as well as allowing them to destress by providing a way of hiding.
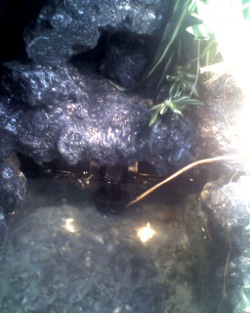
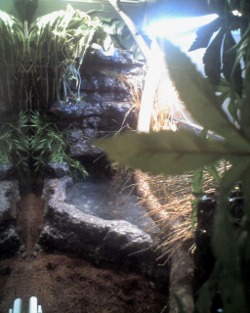 I built on a basking area using your method with a hide underneath out of
two inch foam. Carved in a relief to put a sixty gallon aquarium filter (plenty
big enough considering it holds eight gallons). Made a lid to hide the filter
and mounted underwater lights. For sealing in the grout and paint I used
automotive clear coat with hardener (two coats) but be sure to have plenty of
grout (six coats) as this type of paint will eat foam in about half a second.
It must be allowed to harden for one week before it can be submersed. Then used
three tubes of aquarium silicone which I smeared into the submersed area with
my gloved hands (just to be sure).
My Chinese Water Dragon loves it, so do his pet Platties.
Be sure and check out the
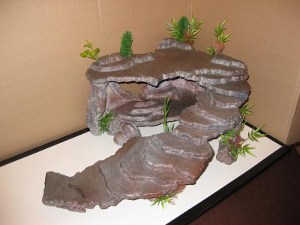
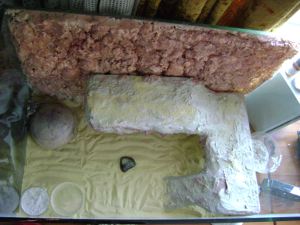
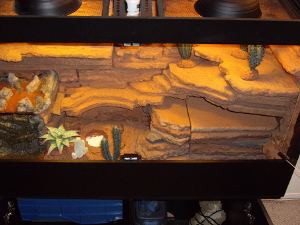 I built this for leopard geckos which need belly heat to digest their food so I used 1/2" copper tubes embedded in the grout under the water fall, and I ran "heat cable" through the tubes for a heated cave that they love to lay in.
